


Way back in November of 1995, I met a woman who would become one of my dearest friends. We hit it off right away because we are both quilters! A few months after Rose Marie and I met, we joined a guild together, and were both members for over 25 years. My, oh my, the adventures in quilting we have had.
Right after we joined the guild in 1996, we decided we wanted to do a Round Robin quilt. There are many different ways in which a Round Robin can be set up, but we wanted the kind where you start with a center block, and pass it around to other group members for them to add to it, and then eventually get it back.
We briefly discussed trying to get a larger group together, but we had only just joined our guild, and didn’t really know many other quilters in our area that well yet. So we decided that we weren’t going to let that stop us — we’d just do it anyway, the two of us by ourselves! So we embarked on a 2-person Round Robin project.
We made ZERO rules, which kept things pretty simple. We each made a center block, and swapped them with each other.
Here’s what I started with:
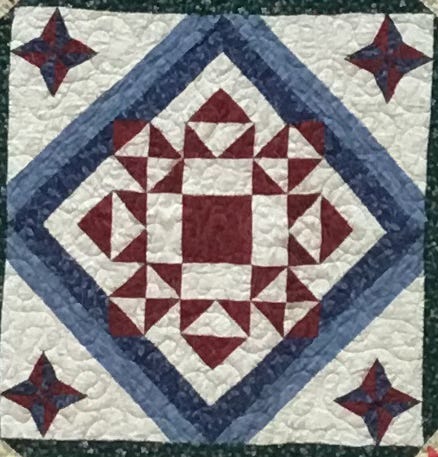
And here’s what Rose Marie started with:
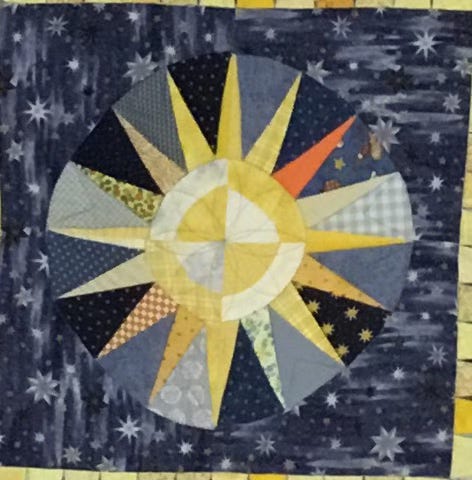
We did not pass any fabric along with our quilts — we each let the other use from her stash for what she wanted to add. No rules!
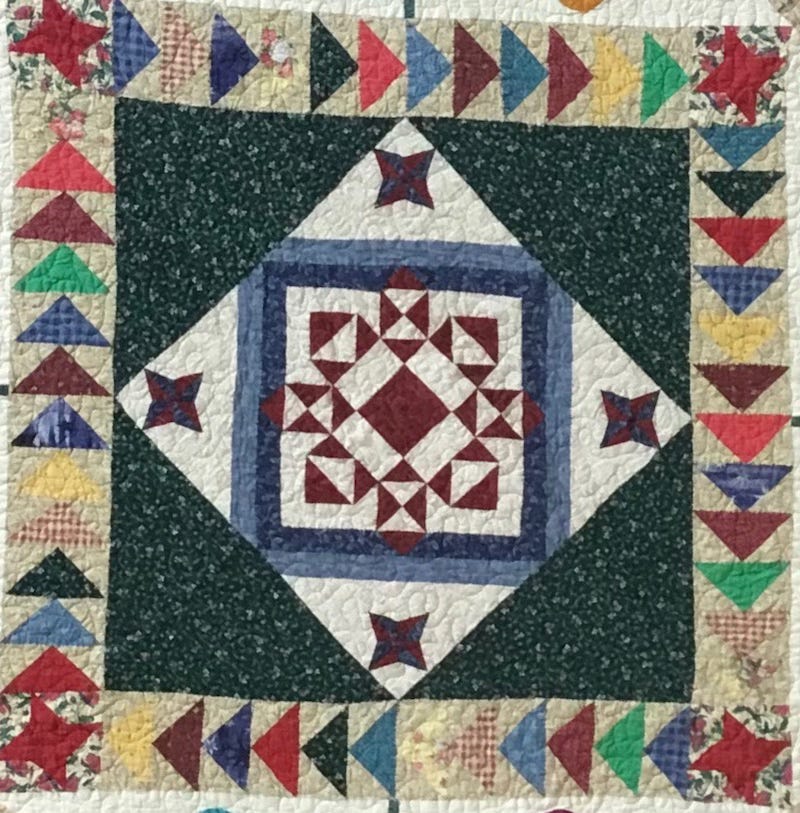
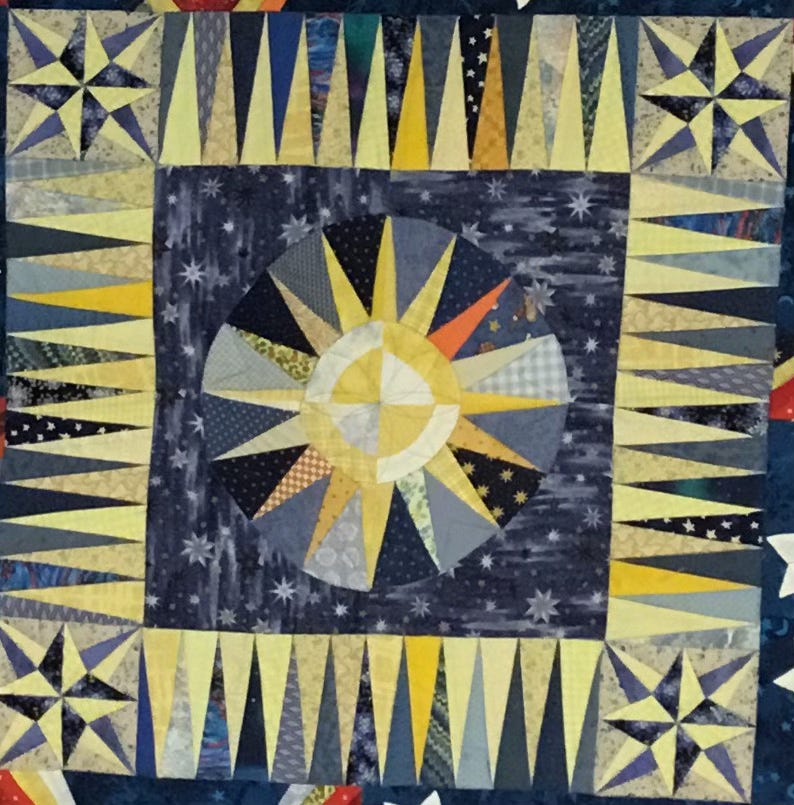
She added a round to mine, and I added a round to hers, and we swapped them back again.
Mine:
Rose Marie’s. I actually did foundation paper piecing and hand piecing on this round for her!
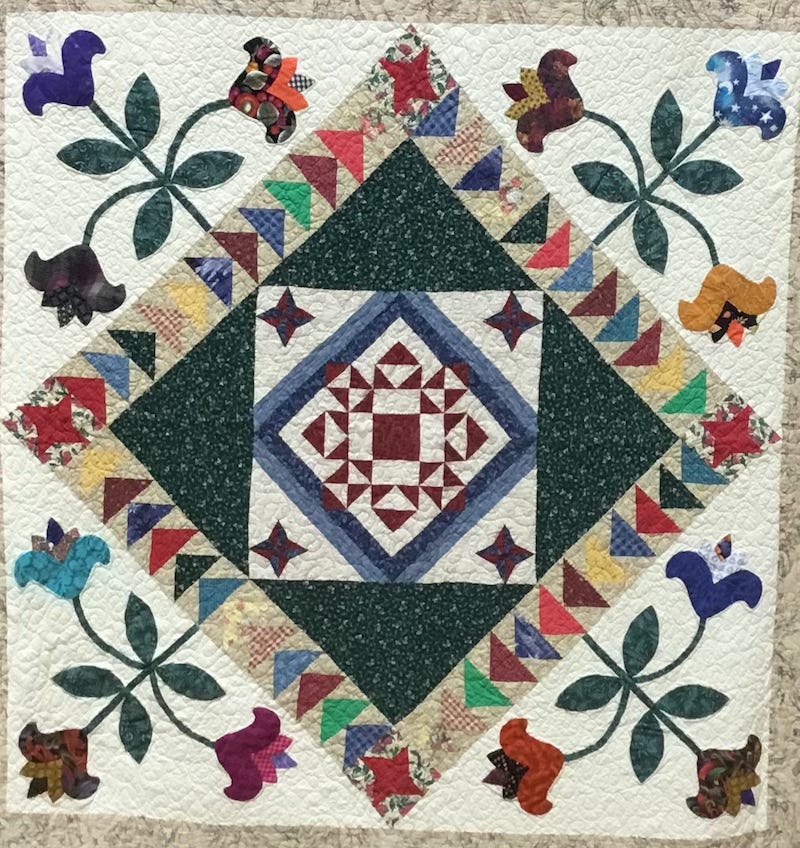
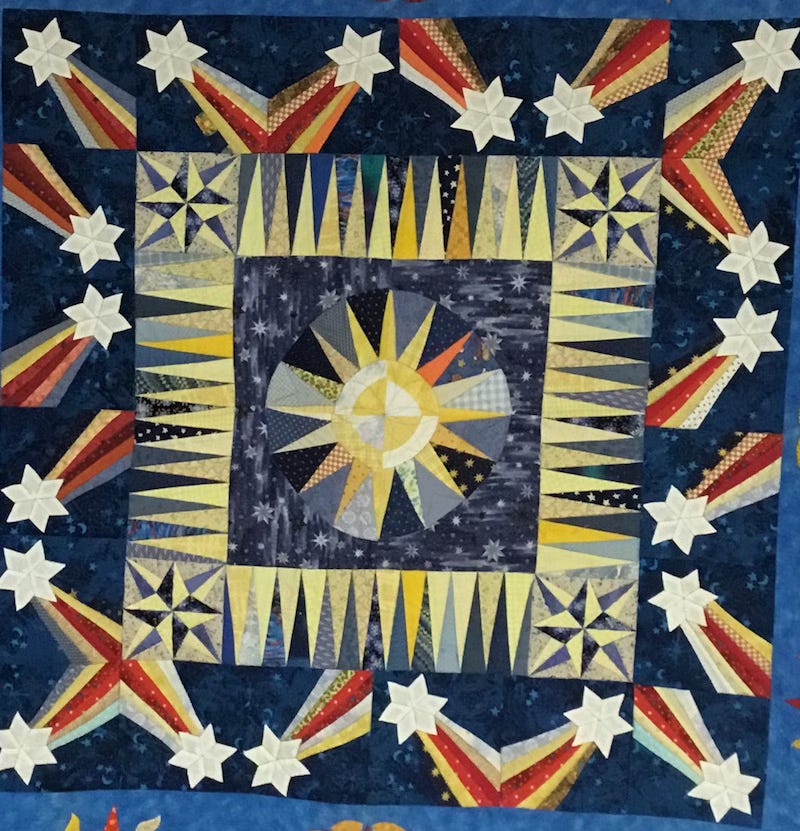
Then it was time to add another round for each of us, this time to our own quilts.
Mine. I got a bit ambitious with the hand appliqué!
Rose Marie added a bunch of comets to hers this time. The white stars are pieced, then appliquéd on.
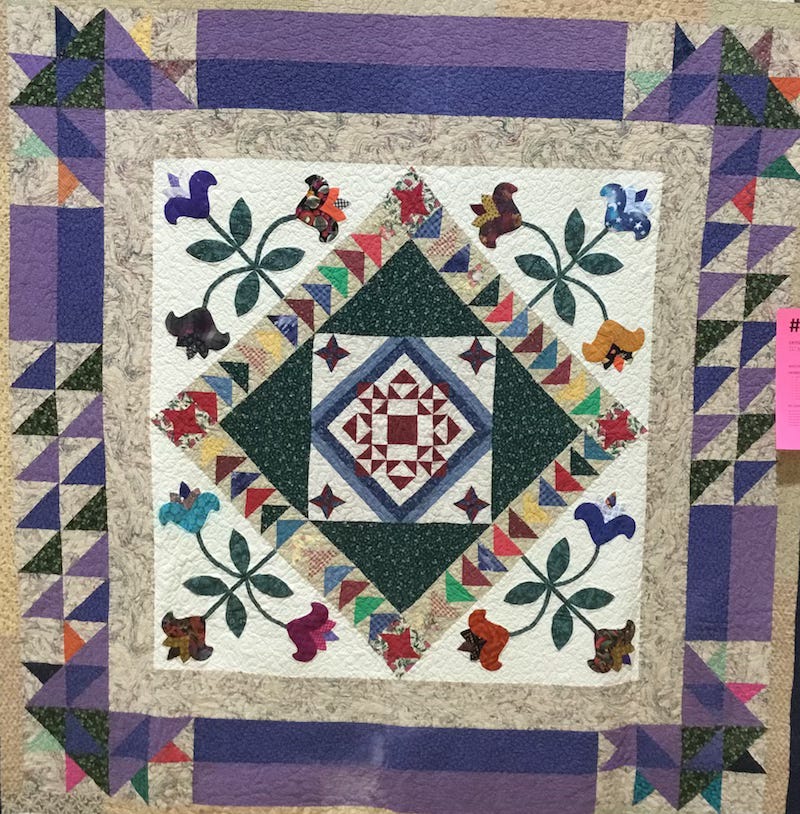
We swapped again, then each added another round to the other’s quilt.
Mine (at the time, my favorite color was purple, and boy, did she oblige me!):
Rose Marie’s, upon which I got SUPER ambitious with the hand appliqué, and did this ENTIRE round of sunbursts, which I drew myself. There are four different designs, and I made four of each one — what was I thinking??? I evidently had way too much time on my hands!
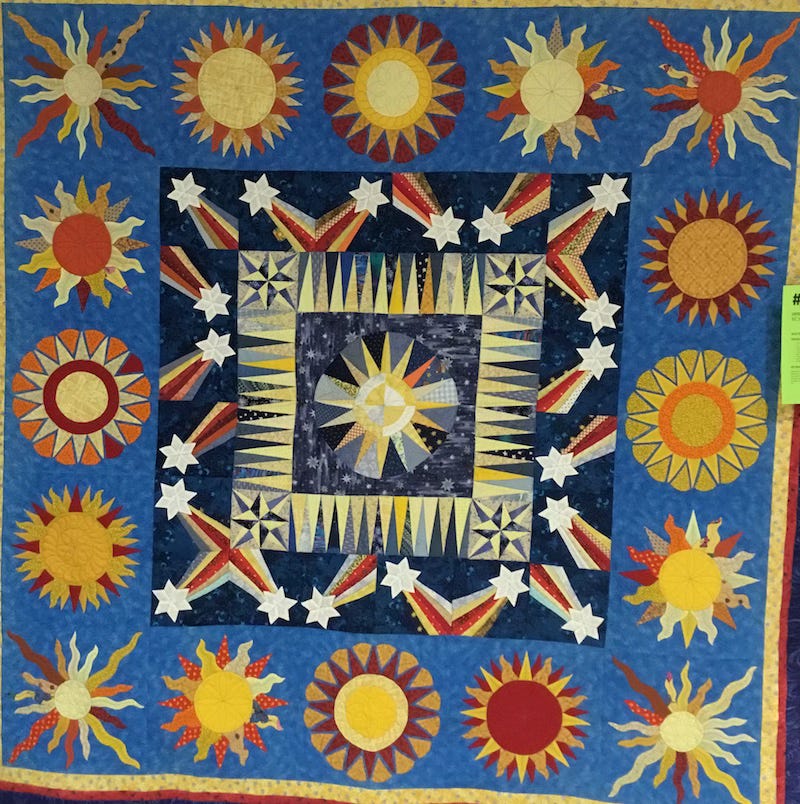
By this time, they were getting up to the size we wanted, so we swapped back one more time, at which point we each had our own quilt back, and were to add one final round to finish them up.
Borders, really, was all they needed. So I added a row of star blocks to the top and bottom of mine to make it fit a bed, rather than be square, then added my borders. I had actually won these star blocks in a guild block exchange, and didn’t even have to make them myself! I thought it was a great time to use them in a project!
Rose Marie stuffed hers in the closet, and didn’t touch it for about 20 years!
I sent mine out to my machine quilter right away (because this was well before I had a longarm machine of my own) — it was quilted by June Magers.
Then I started using it! It’s been on my bed off and on for nearly 30 years, drug around for a snuggle quilt, and washed and washed and washed and washed. It’s got faded spots, worn spots, and is still being well loved. (My favorite kind of quilt!)
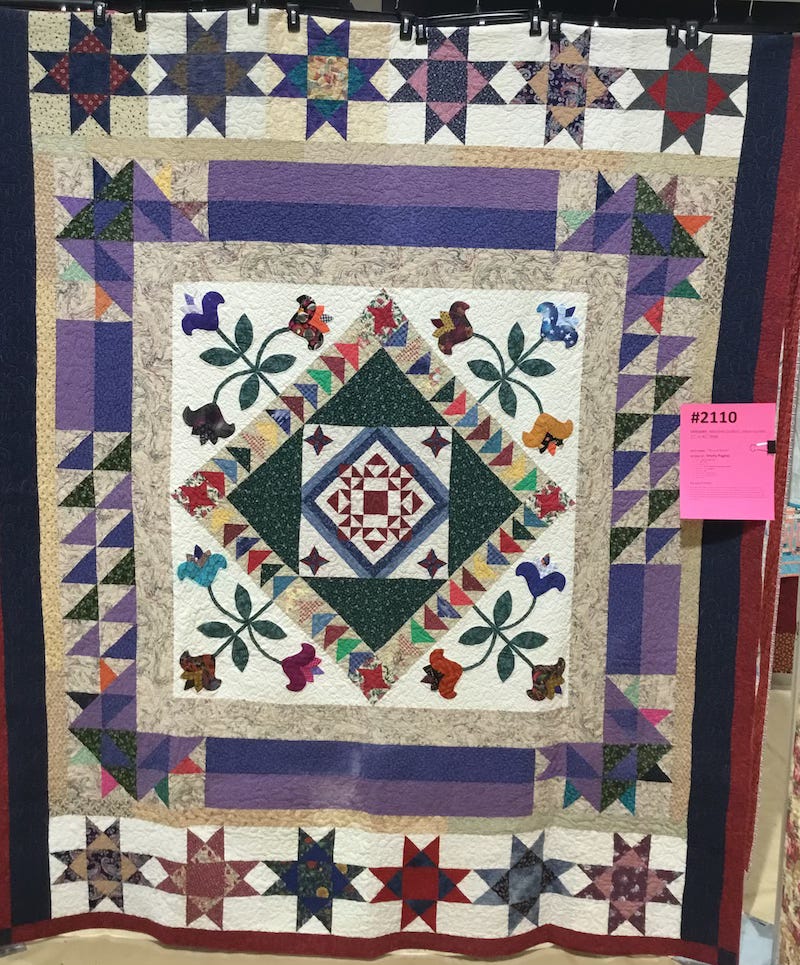
Rose Marie finally dragged hers out of her closet and put her final borders on, then asked me to quilt it for her, because by then, I had a longarm machine and was quilting for customers — only fitting, right?
And because this was a joint project, we both agreed that we needed to hang them in our local quilt show at the same time, just for the sake of the story! Even tho my quilt is faded and worn, I hung it, and Rose Marie hung her newly finished creation.
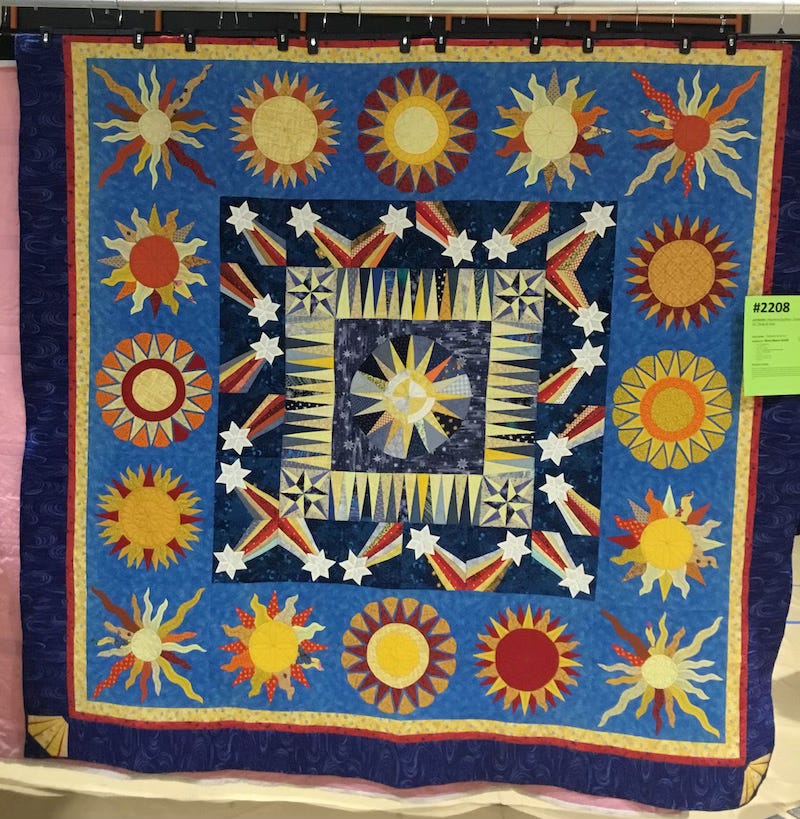
As we were discussing them, we both had a chuckle over how much work we put into them. I mean, all that hand piecing, and hand appliqué on my part? And all the different techniques we had both tried: appliqué, foundation piecing, etc. Rose Marie said: “Yes, and I was deep into my learning curve at that time.” I replied: “It appears that we’ve both come a long way since then. I think we should do it again!”
So . . . 23 years later . . . in 2019 . . . Rose Marie and I embarked on another Round Robin project, just to see how different the next ones turned out compared to our efforts of a few decades ago!
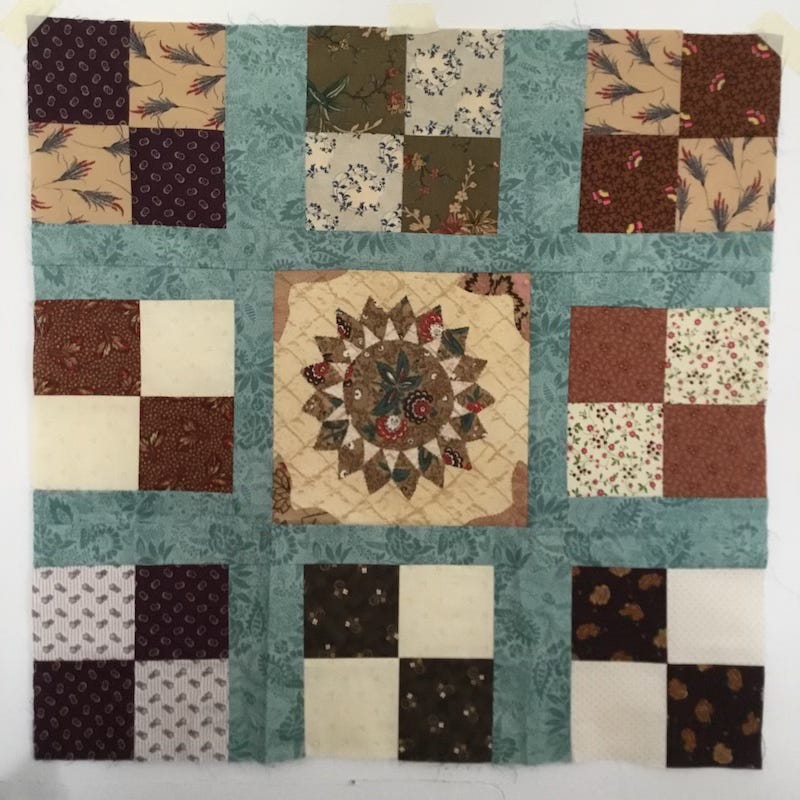
Here’s what she started with:
And here’s what I started with:
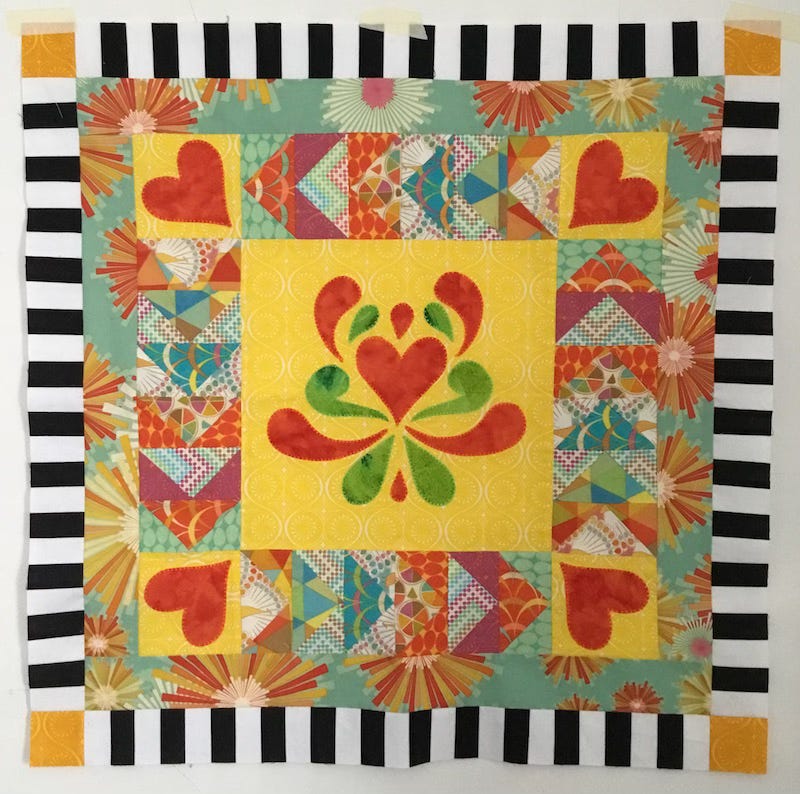
I saw one major difference right off the bat!
Last time, I did traditional colors, and Rose Marie did brights. This time, mine is the bright one, and Rose Marie went back to more traditional colors.
Our only rule this time? We couldn’t take 23 years to finish them! We weren’t sure either of us will live that long! Haha! We also decided we didn’t have to make them as large as the last ones.
For Round 1, Rose Marie added some Drunkard’s Path blocks to my center. I started with a pretty wild color palette, so she had to rally to make this work!
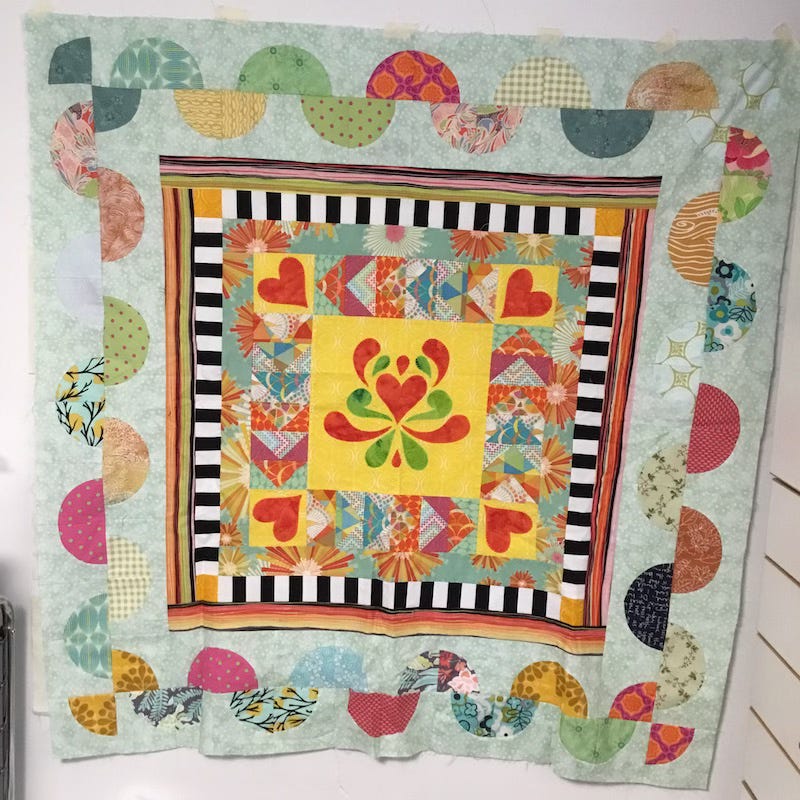
I had just finished another quilt in Rose Marie’s color palette, so was able to use my scraps to add the first round to her center:
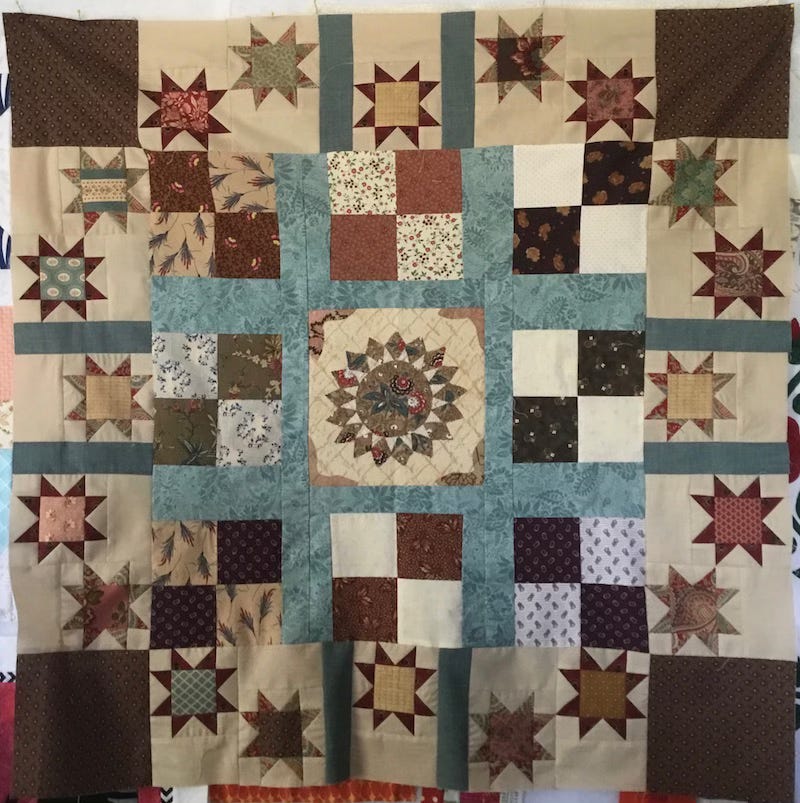
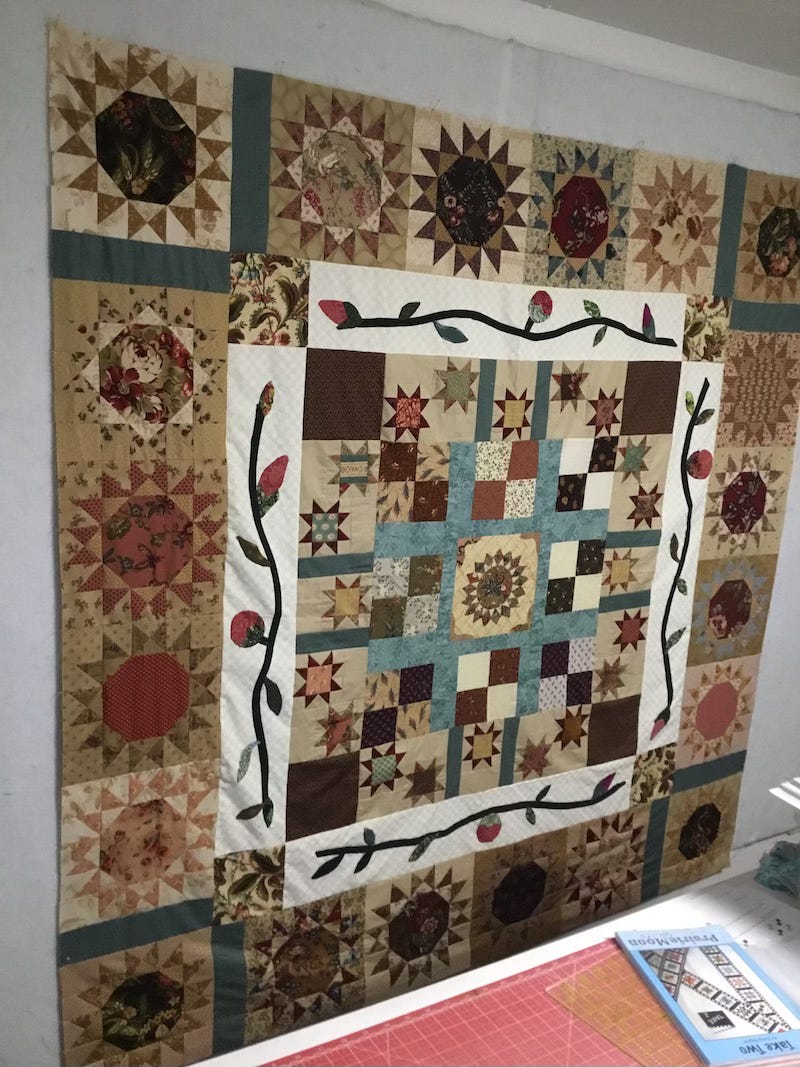
When Rose Marie got hers back, she added a round of appliqué. For mine, I fished through my box of orphan blocks, and pulled out any units I thought would work to make a round of little sampler blocks around my quilt, along with some more black-and-white scraps. For some reason, I didn’t take any photos of that round, but after Round Three, I remembered to take photos. Here’s what I added to Rose Marie’s after her appliqué border:
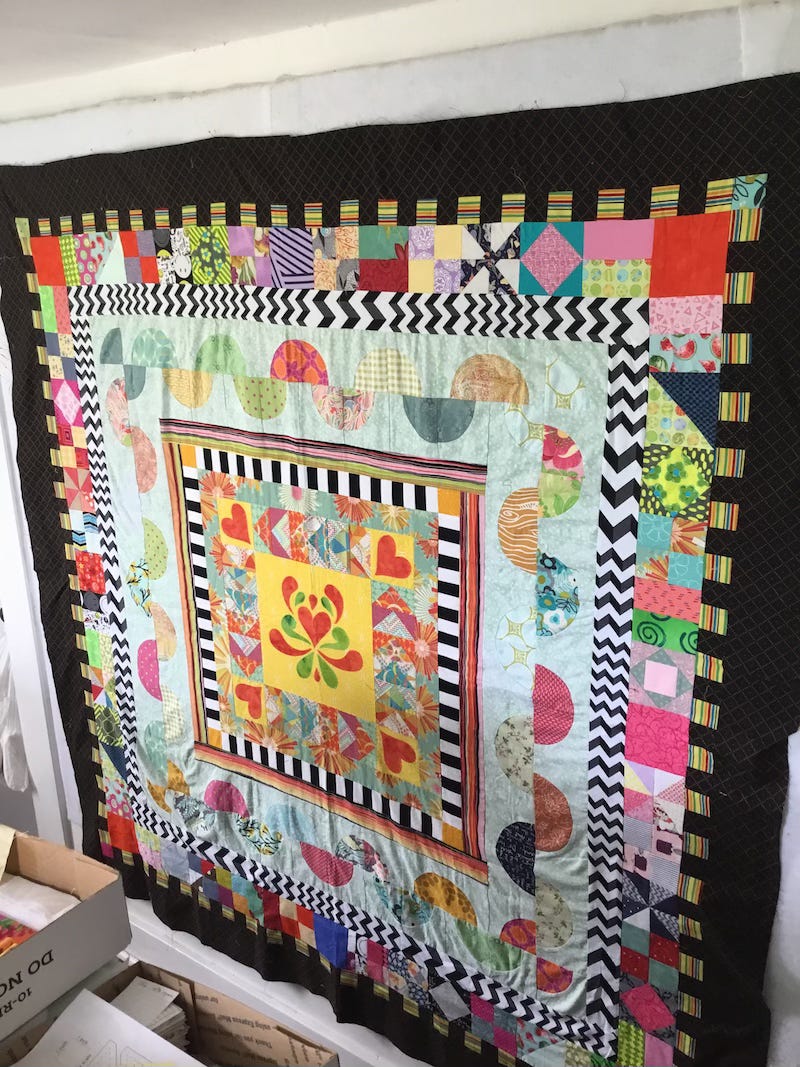
And Rose Marie kept my black and brights theme going and added a border to mine:
After passing them back again, we decided we were where we wanted to be as far as size, so Rose Marie simply added an outer border to hers.
I decided I liked mine the way it was, and didn’t add anything else to it! Ah, the beauty of no rules.
Rose Marie had hers quilted and finished quite a while back, but mine languished in the to-be-quilted pile here for a while (as most of my tops do).
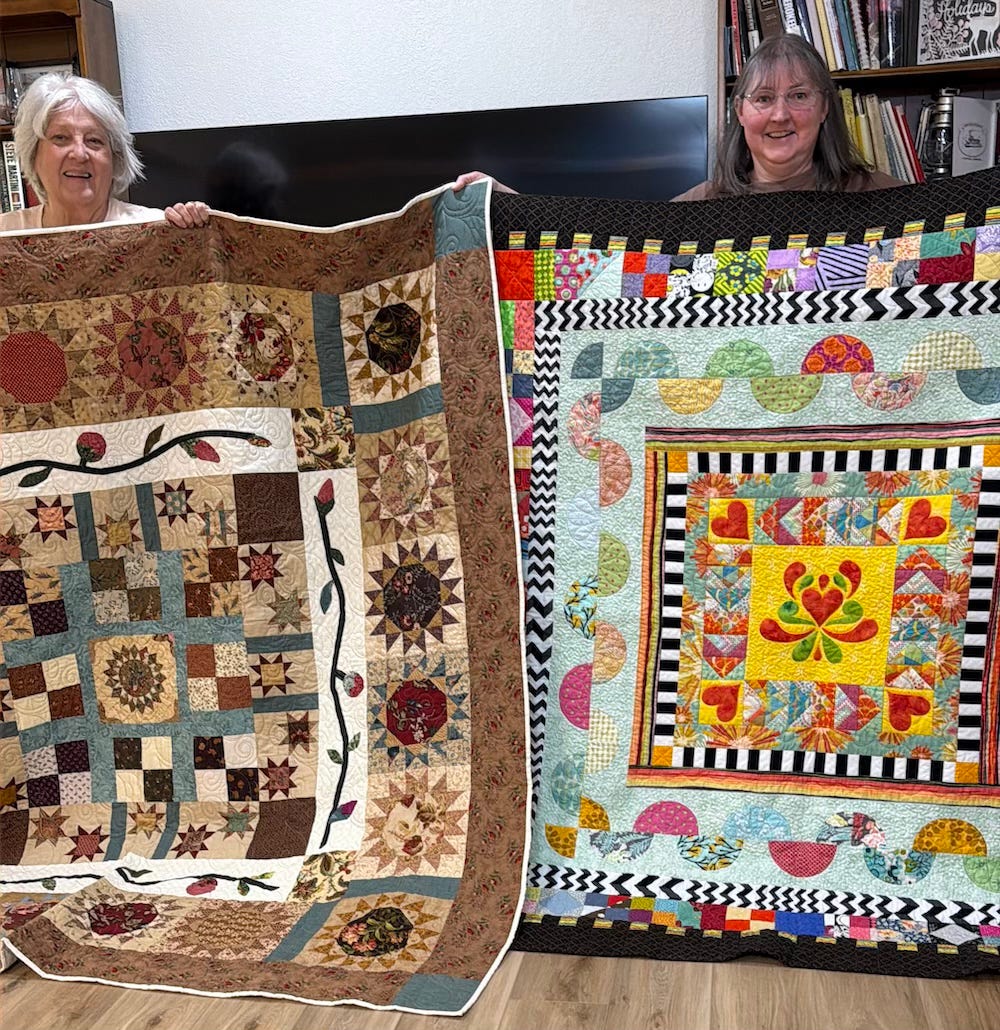
We neither one belong to that same guild any more, and we have both moved away, so I don’t see her as often as I used to, but I recently got my Round Robin finished, and when I went to visit her yesterday, I took it with me to show her. Her husband was kind enough to take our picture with our finished quilts!
And all of this is to say to YOU:
• Don’t think that you have to get together a big group to do a joint project. While Round Robins typically have 5-7 people in them, it doesn’t have to be that way — don’t let that stop you! Just choose your best quilty friend and challenge each other!
• This is a good way to challenge yourself (and your best quilty friend) to do something you normally wouldn’t, and get you thinking outside your normal quilting box. If you need some inspiration to jumpstart your creativity again, this might be a good project for you to try!
• If nothing else, it’ll be fun and something to do with a friend, and you’ll both end up with a finished quilt to show for it. You can make up your own rules and do it however you want.